If you're new to resin art, you're in for a creative treat! Working with resin is all about expressing yourself and having fun. To get started, you'll want to gather a few essential supplies. You'll need resin and hardener, measuring cups, stir sticks, and silicone molds or crafting surfaces. Don’t forget some gloves to keep your hands clean!
Before you dive in, make sure to set up your workspace. Choose a flat, dust-free area where you can work without interruptions. Resin takes a bit of time to cure, and you want to avoid anything landing in your masterpiece while it’s drying. If you're feeling adventurous, grab some pigments, glitter, or even dried flowers to add a personal touch to your art!
Mixing the resin is super important, so take your time here. Follow the instructions on your resin package for the correct resin-to-hardener ratio. It’s usually equal parts, but double-check! Once you mix it, you’ll have a short window to pour before it starts to harden. So, get your designs ready, and don’t be shy about experimenting!
After pouring, let your resin art cure for at least 24 hours (or longer depending on the brand). You'll know it’s ready when it’s solid and feels hard to the touch. If you’re eager to see how it turned out, be patient! This waiting period is key for the best results. And remember, every piece you create helps you learn and grow as an artist!
Essential Tools You Need
Diving into resin art can be a blast, but to kick things off, you need some essential tools in your arsenal. First up, get your hands on a good quality resin. Look for a brand that’s easy to mix and cures clear. This is key for getting that beautiful, glossy finish we're all after.
Next, don’t skip the mixing cups and stir sticks. You’ll want these for measuring and combining your resin and hardener accurately. Clear plastic cups and wooden stir sticks work just fine and won’t break the bank. Just make sure your mixing cups are disposable or easy to clean.
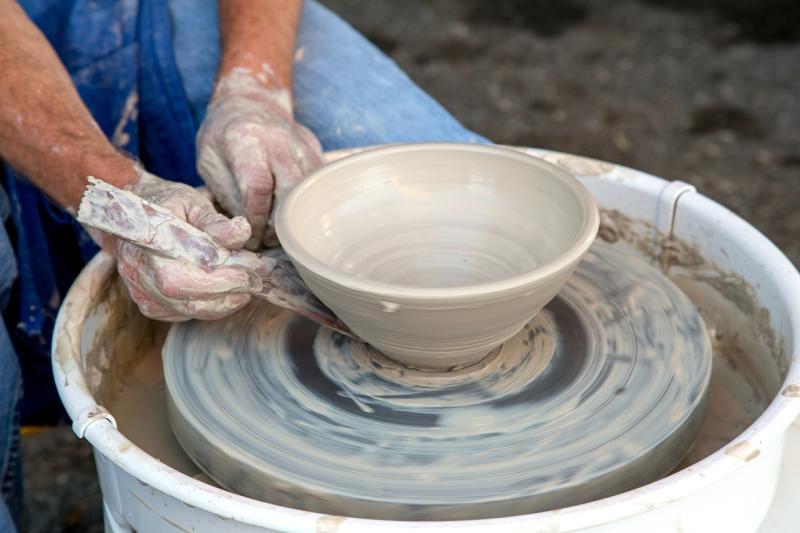
Let’s talk mold! Silicone molds are popular because they’re flexible and help you release creations without a hassle. You can find molds in all kinds of shapes and sizes, so whether you want to create coasters, jewelry, or art pieces, you have tons of options.
Don't forget about protective gear. Resin can be quite messy. Pop on some gloves to keep your hands clean and use a mask to avoid inhaling any fumes. Safety first, right?
Finally, if you want to jazz up your resin pieces, grab some pigments, glitters, or even dried flowers. These fun additives can really take your art to the next level and let your personality shine through. Get ready to unleash your creativity!
Basic Techniques for Stunning Results
Getting started with resin art is all about having fun and exploring your creativity. Here are some basic techniques to help you get stunning results right from the get-go.
First up, mixing your resin and hardener. Follow the instructions on your resin kit for the right ratio, usually around 1:1. Use a disposable cup and stick to mix. Give it at least 3-5 minutes of stirring to make sure everything is blended well. If you skip this step, your resin won’t cure properly, and that can be a huge bummer!
Next, let’s talk about pouring! Once your resin is mixed, pour it slowly into your mold or surface. Try to pour in a zig-zag motion to help prevent air bubbles. If bubbles do appear, you can use a heat gun or a torch to pop them. Just be careful not to overdo it; you don’t want to burn your resin.
Coloring your resin is where the magic happens! You can add acrylic paints, mica powders, or alcohol inks to create amazing effects. Start with a small amount and mix it in completely. You can always add more if you want a bolder look. Don’t be afraid to experiment! Swirling in different colors can create a beautiful, unique piece.
Finally, let your art cure in a dust-free area for the time recommended on your resin instructions—typically 24 to 72 hours. Patience is key! Once it’s fully cured, protect your work with a clear topcoat for a glossy finish, and get ready to show off your stunning creations!
Tips for Avoiding Common Mistakes
Diving into resin art is super exciting, but it’s easy to make a few common mistakes along the way. Let’s make sure you avoid them so you can enjoy the process from start to finish!
First up, always measure your resin and hardener carefully. If you don't, you might end up with a sticky mess instead of a beautiful piece of art. A kitchen scale is your best friend here. It helps ensure you mix the right ratios, usually 1:1, but always check your specific product’s instructions.
Another tip is to keep your workspace clean. Resin can be sticky and tricky, so the last thing you want is dust or debris landing on your art. Lay down a protective tarp, use old newspapers, or anything else to keep your area tidy. Bonus: this makes clean-up easier too!
Finally, don’t rush the curing process. It’s tempting to check your work after a few hours, but patience is key. Let your art cure for at least 24 hours before touching it. If you’re working with multiple layers, wait a few hours between each layer to ensure they bond well and don’t mix together.